I found this beauty for $25 on our local Facebook yard sale page.
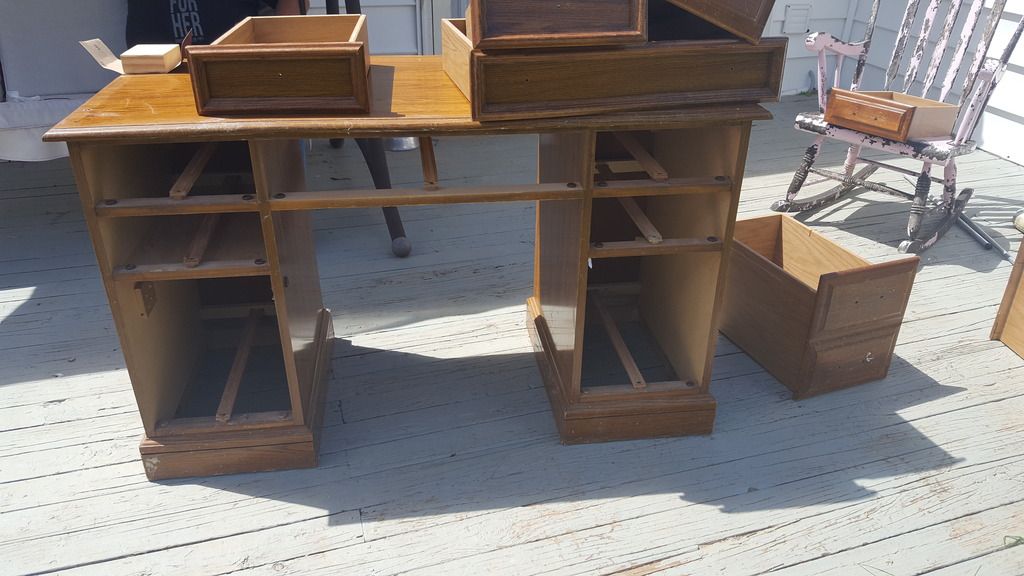
It was actually an old secretary desk but the roll top was missing. It has 3 drawers on each side and one in the middle. The 2 bottom drawers are very deep.
I took some 50 grit sandpaper (that is what I had) and started sanding. Messing, nasty job but somebody has to do it right? Then I took a dry rag and wiped it off.
I used Plaster of Paris to make chalk paint. You can purchase this at any hardware store. It runs about $5 a carton. A little goes a very long way! The chalk paint seems to stretch the paint and give it a dull finish which is what I wanted for distressing.
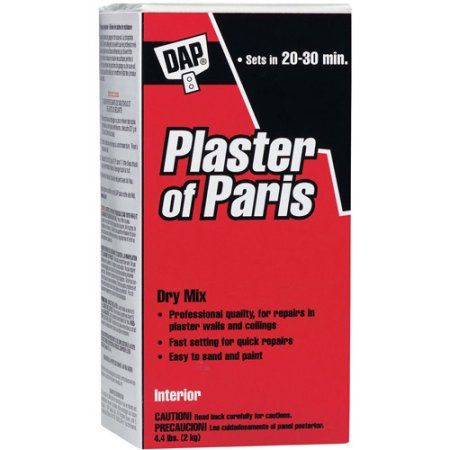
The recipe is to use 1 part plaster to 3 parts paint. So I took 1/3 cup and added a few teaspoons of water to dilute it. You want it to become a little thinner than mayo consistency. Then once mixed, I added 1 cup of my cheap Glidden brand paint to it. (Glidden brand paint runs about $12-15 per gallon.) You need to make sure all the plaster mixed and isn't settling to the bottom.
I used a cheap paint brush. You can use a roller and if it was a piece of furniture that I wasn't going to be distressing, I would have. But because of the distressing, the brush marks left in the paint wouldn't matter.
I removed all the hardware and the drawers. I painted the drawers first, then the base. This chalk paint will dry very quickly. I put another coat of paint on and then spray painted the hardware.
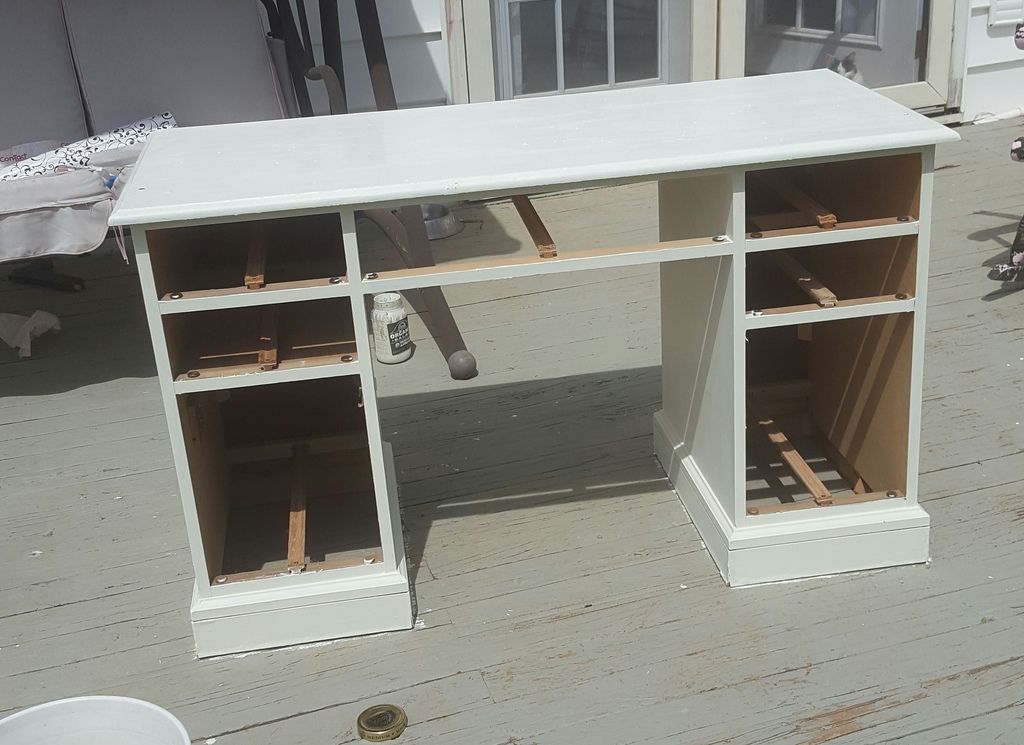
After it dried, I put the hardware back on and put the drawers in. I again used my 50 grit sandpaper and started the distressing process. This is very easy to do. I just started sanding where I thought the "wear" would be on an old piece of furniture. I sanded until the wood started to show through. You can sand as much as you want or little as you want. I didn't sand too heavy because I wanted it to look distressed, but elegant at the same time.
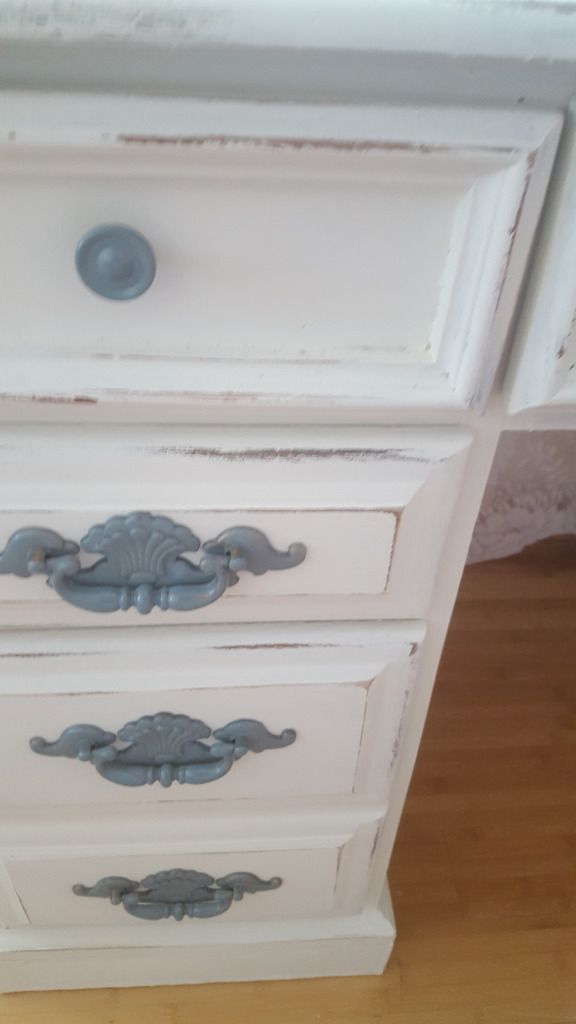
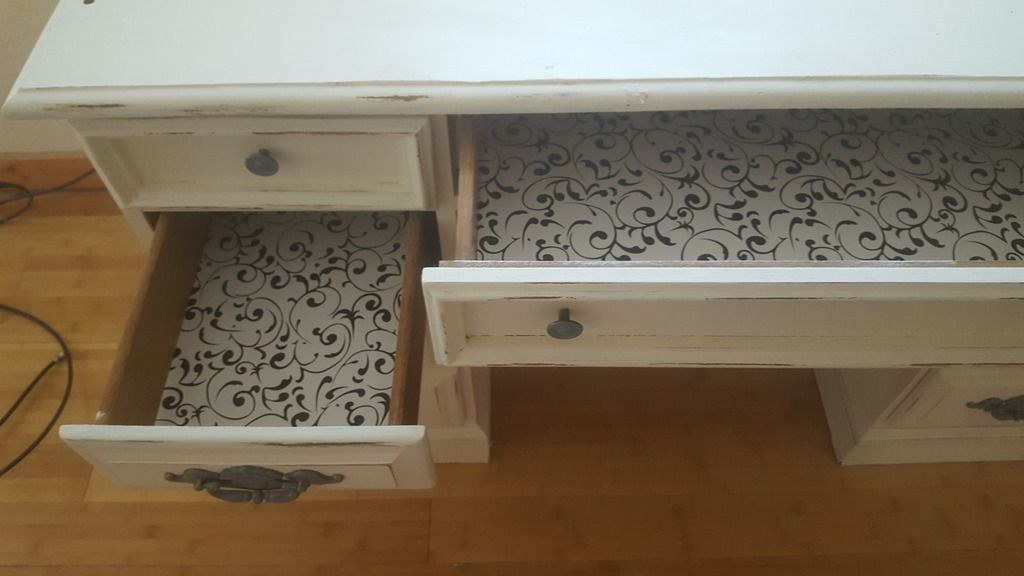
I also placed some Damask contact paper, that I had on hand, inside all the drawers. This makes them look nice as well as easy to clean.
So this is the finished product!
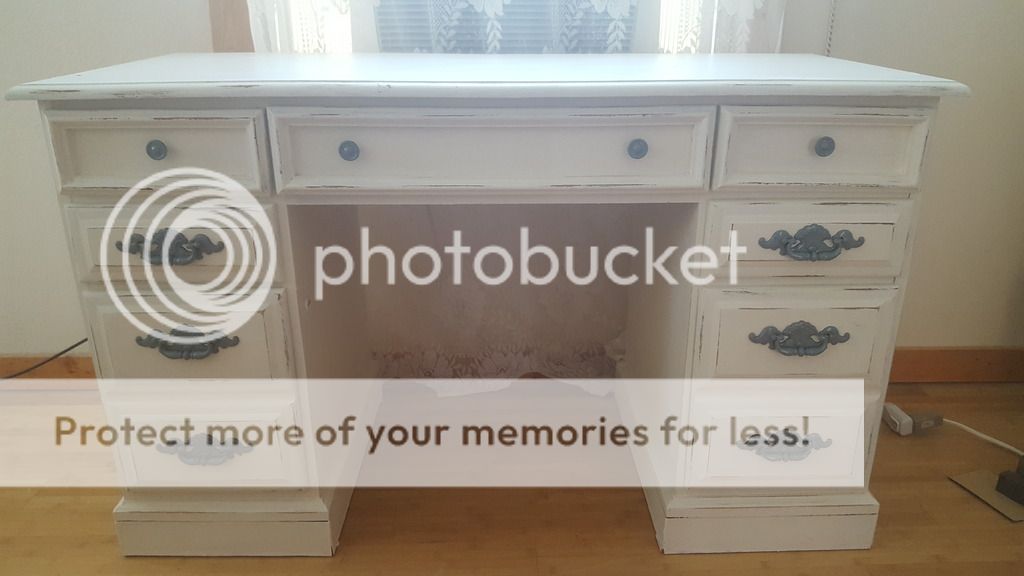
I love doing this to old furniture. Giving it new life and purpose is inspiring to me. Kind of like me, I feel old some days but I slap on some make up and hair accessories and I'm young again. Ha Ha!
So this was pretty fun. I've done this before with an old china hutch, but I used spray paint. It turned out ok, but the coverage wasn't the best and it was very time consuming and messy. The chalk paint is so much easier to work with and cheaper! The good spray paint is around $5 per bottle now and it would take several cans to do a piece like this. For this vanity, I used about 1 1/4 cup of paint! That is it! Like I mentioned before, the plaster makes the paint go a long way! I mixed 1 cup at a time so the 3/4 cup I had left over I just put in an old glass jar with a lid. I can use this the next time and it will already be mixed for me. ;)
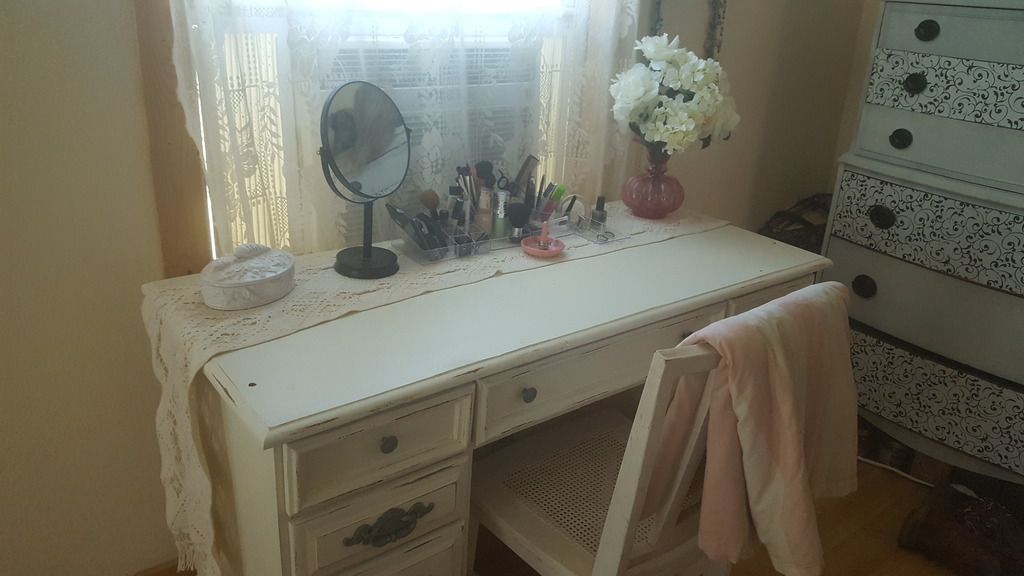
So I hope I've inspired you to dig out an old piece and make it new again! These projects are nice because they are one day projects. This took me just a few hours to do. Enjoy your day and make it productive!
